How to fix light switch button?
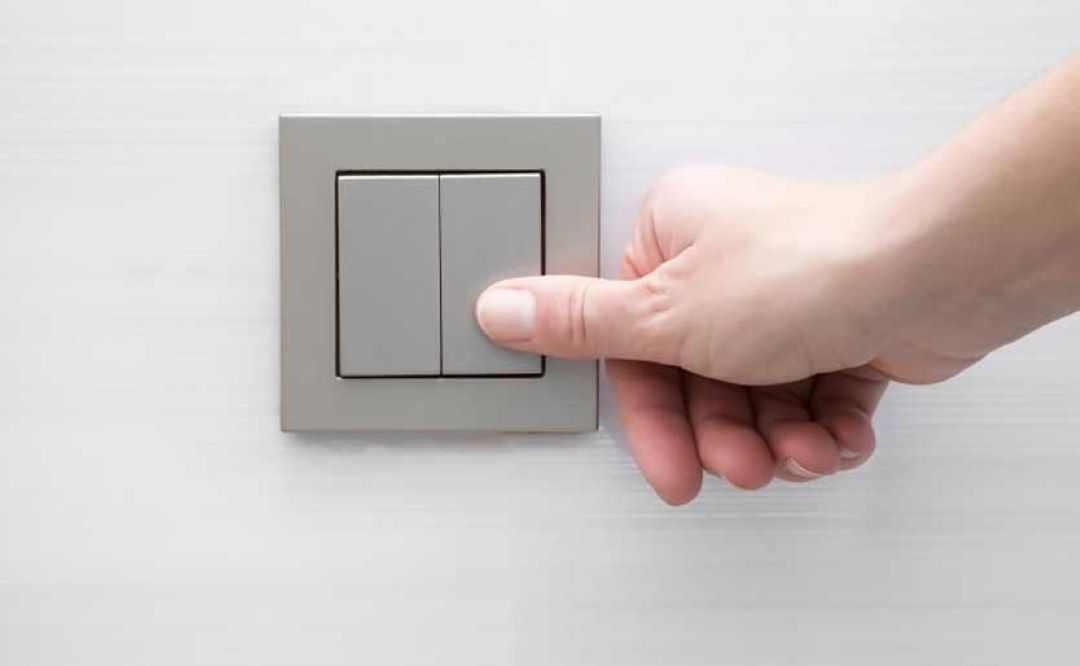
To fix a light switch button, you need to first understand the type of light switch you're dealing with, whether it's a single pole switch, three-way switch, four-way switch, or a dimmer switch. Check the light switches wiring within the switch box; you'll typically find a white wire (neutral), black wire (power), and possibly a green or bare wire for grounding.
When replacing an old light switch, carefully remove the switch plate and unscrew the old switch from the switch box. Transfer the wires from the old switch to the new one, ensuring that the black tape-marked white wire in three-way switches is connected to the com terminal. For switches controlling lights from two locations, verify you're using a pair of three-way switch.
Always ensure your light switch wiring is correct to prevent short circuits or a fire hazard. Before doing any work, disconnect the power to the circuit you're working on to avoid electric shock. If unsure, it's best to consult a qualified electrician to complete the job safely.
How to fix light switch on wall?
To fix a light switch on the wall, you first need to identify the type of switch you're dealing with, whether it's a single pole switch, three-way switch, or four-way switch, as each type has a different wiring configuration.
Ensure that the power is turned off at the circuit breaker to prevent electric shock. Remove the switch plate and inspect the light switch wiring within the switch box, paying close attention to the switch leg, screw terminals, and the colors of the wires (usually black wire for live/ hot, white wire for neutral, and sometimes red for an additional hot wire or traveler in three or four-way switch setups). Read up on the electrical wire color code in Singapore to gain a better understanding of your electrical wiring.
For dimmer switches, additional wiring steps may be involved to control the light intensity. If you're replacing an old switch, carefully disconnect the wires from the terminal screws and connect them to the new switch, ensuring that the wires are securely attached and covered with black tape if necessary. Make sure the switch is properly positioned in the switch box and secured with screws.
Replace the switch plate, restore power, and test the switch. If you tried all of the following above but yet in vain, you might be having a wiring problem. Here are 20 signs that you need a wiring repair and replacement. If at any point you feel unsure, it's safest to consult a qualified electrician to complete the job and ensure everything is wired correctly to prevent any risks of fire or electrical issues.
How to fix loose switch button?
To fix a loose switch button, you can start by turning off the power at the fuse to ensure no electricity is flowing through the wires.
Carefully remove the fixture cover to expose the control mechanism. Inspect the light switch and identify if the toggle, one side of the light switch, or the entire switch is broken or simply loose.
Check the box to ensure the switch is properly positioned and secured. If the toggle has broken off, you may need to replace the entire switch to restore functionality.
Remove the switch plate and observe the wiring inside. Pay special attention to the screw terminals and terminal screws, ensuring they are tight and firmly secured to the wires.
If any cables or wires appear damaged, they may need to be replaced to ensure safe operation. When replacing or tightening, make sure the power is off to prevent any risk of shock. Push the switch back into the box and secure it with screws.
For dimmer switches, additional steps involving the dimmer control and dimmer wires may be necessary. Once everything is securely connected, restore power and test the light switch to ensure it's working correctly.
If it remains loose or doesn't control the lights properly, consider consulting a professional, as there might be an underlying wiring issue that requires expert attention.
Why is my light switch not clicking?
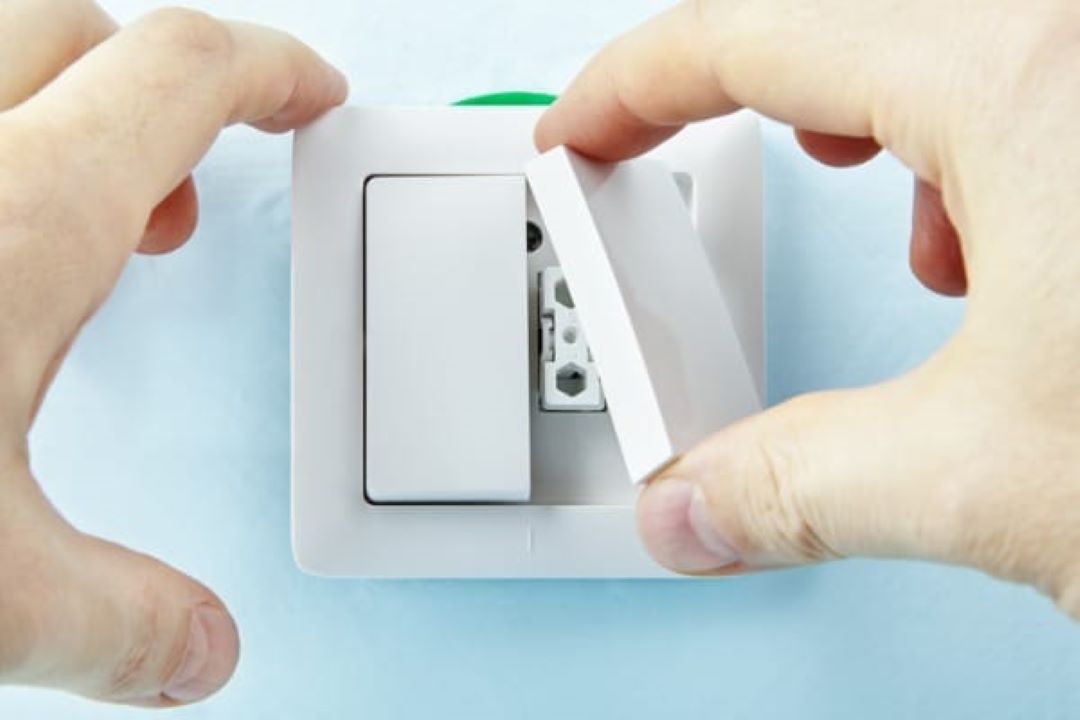
Your light switch toggle is not clicking because there might be an issue with the switch leg, or the mechanism within the switch box has worn out. This is a common problem with both old switches and newer models, where repetitive use damages the internal components, preventing the switch from functioning correctly.
To diagnose this, you need to remove the switch plate and inspect the screw terminals for any loose connections. Ensure the black wire (hot) and the white wire (neutral) are securely attached. In dimmer switches, this problem could also stem from incorrect wiring or a mismatch with the light fixture it controls.
For safety, employing a qualified electrician is recommended, especially when dealing with complex wiring systems involving three-way switches or four-way switches, which control lights from two or more locations. A professional can determine if the issue lies with the single pole switch itself, the wiring, or if there's a need to replace the entire switch box.
Remember, working with electricity requires caution; ensure the power is off at the circuit breaker before starting any repairs. For temporary solutions, using black tape to cover exposed wires can prevent short circuits until the switch or wiring can be properly repaired or replaced.
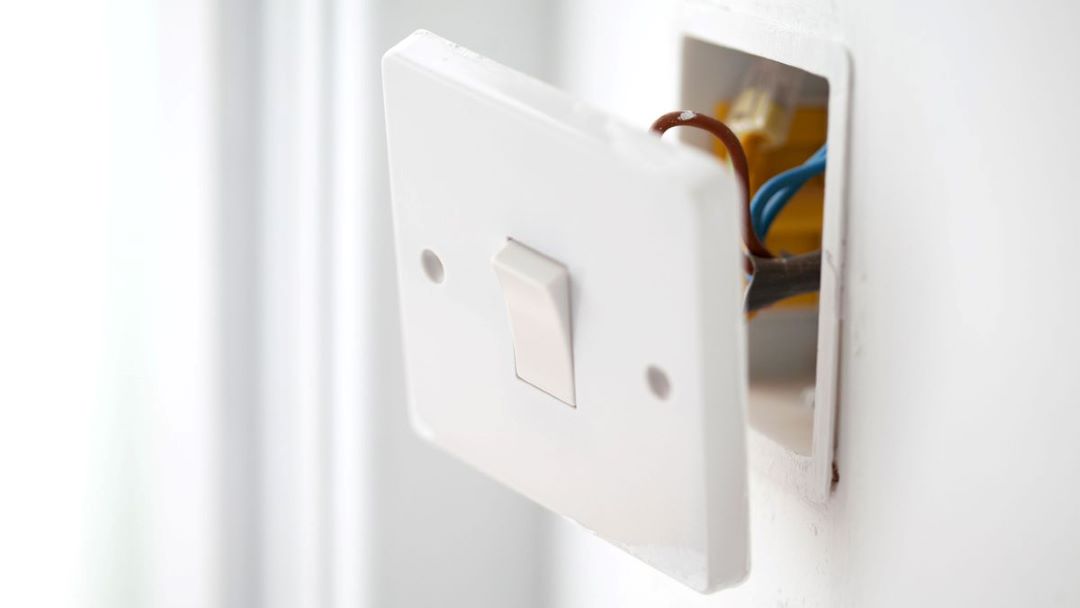
Why is my light switch toggle broken?
Your light switch toggle is broken because it may have encountered issues ranging from a simple wear and tear scenario to more complex wiring or circuit problems.
To fix a non-functional light switch, whether it's a traditional switch, dimmer switch, or a smart switch, you'll first need to ensure the power source to the switches is turned off for safety. This is crucial before attempting to remove the switch plate from the switch box to examine the switch leg and the condition of the light bulbs, terminal screws, and wire nuts.
Often, the problem lies in loose screw terminals, which can be tightened up. Make sure the white wire (neutral) and black wire (hot) are securely connected to the switch's two terminals. Sometimes, if it's a three-way switch controlling lights from two locations, there might be an issue with the wiring or the com terminal being incorrectly connected.
Most switches have simple mechanisms, but if the wires, especially the black tape-wrapped end of the black wire, show signs of damage, replacing the entire switch might be necessary. When fixing the switch, always remember to use the appropriate cable and to strip the wires correctly before attaching them to the new switch, ensuring that power is restored correctly to light up the room.
Why is there no power to my light switch but the circuit breaker is not tripped?
If there is no power to your light switch and the circuit breaker is not tripped, this happens because of a possible discontinuity or fault in the light switch wiring.
For instance, the terminal screws on the single pole switch or any other type might not be tightened, leading to a poor connection. It is essential to check the wire nuts for secure connections and ensure the screw terminals are properly fastened. The white wire (neutral) and black wire (hot) connections to the switch may have come loose or disconnected.
This issue can arise in both three-way switches and four-way switches configurations. Specifically, in three-way switch setups, the black wires might have been incorrectly connected, affecting the flow of electricity. In a four-way switch scenario, which involves two switches controlling a single light source, incorrect wiring into a wrong terminal can disrupt the circuit continuity.
With most switches, the power source (black wire) should be connected to one terminal, and the switch controls the flow to the light or outlet. Proper diagnosis includes checking all connections, ensuring the continuity of both white and black wires, and verifying the setup if dealing with multiple switches to restore power and electricity effectively.
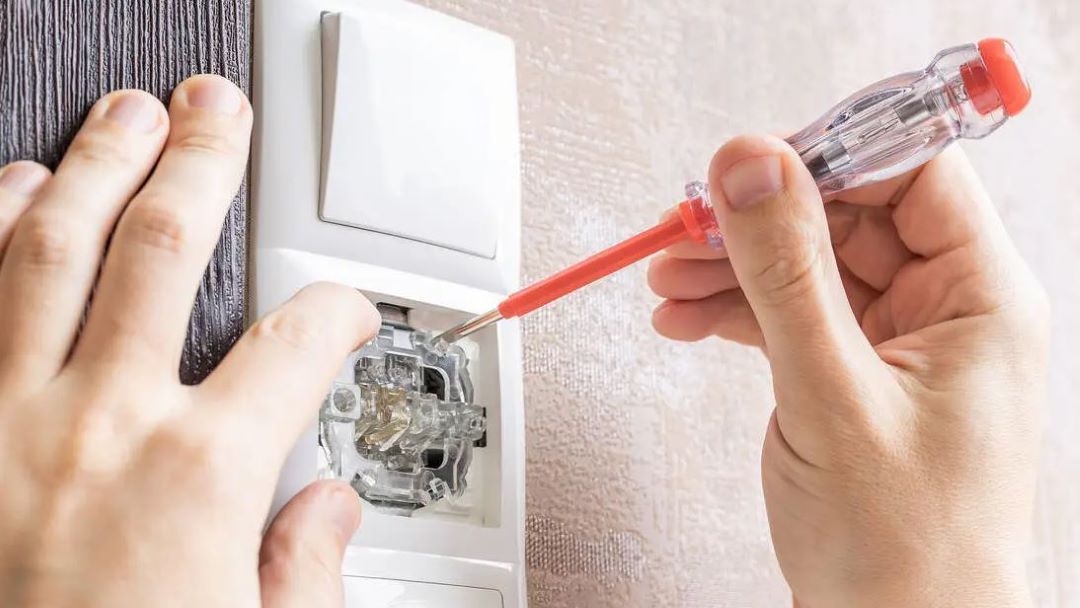
How do you replace a light switch button?
You replace a light switch button by first turning off the circuit breaker to ensure no power is flowing to the fixture.
Carefully remove the light switch from the switch box in the wall, noting the configuration of wires connected to the terminal. Consulting diagrams can be helpful if you're dealing with multiple switches or different types of wiring configurations. Next, detach the wires from the existing switch and attach them to the new switch, making sure to match each wire to the correct terminal.
If you're installing a switch with a different control mechanism, ensure the wires are correctly arranged to accommodate the new setup. Before pushing the switch back into the box, gently fold the wires to avoid pinching them, which could damage the cable and affect the circuit. Once the new switch is securely in place, you can restore electricity and power at the circuit breaker and test the switch to confirm it controls the light as intended.
Replacing switches may vary slightly depending on the pair or configuration of the switches within the circuit, but the principle of matching the wires to the correct terminal on the new switch remains key to a successful install.
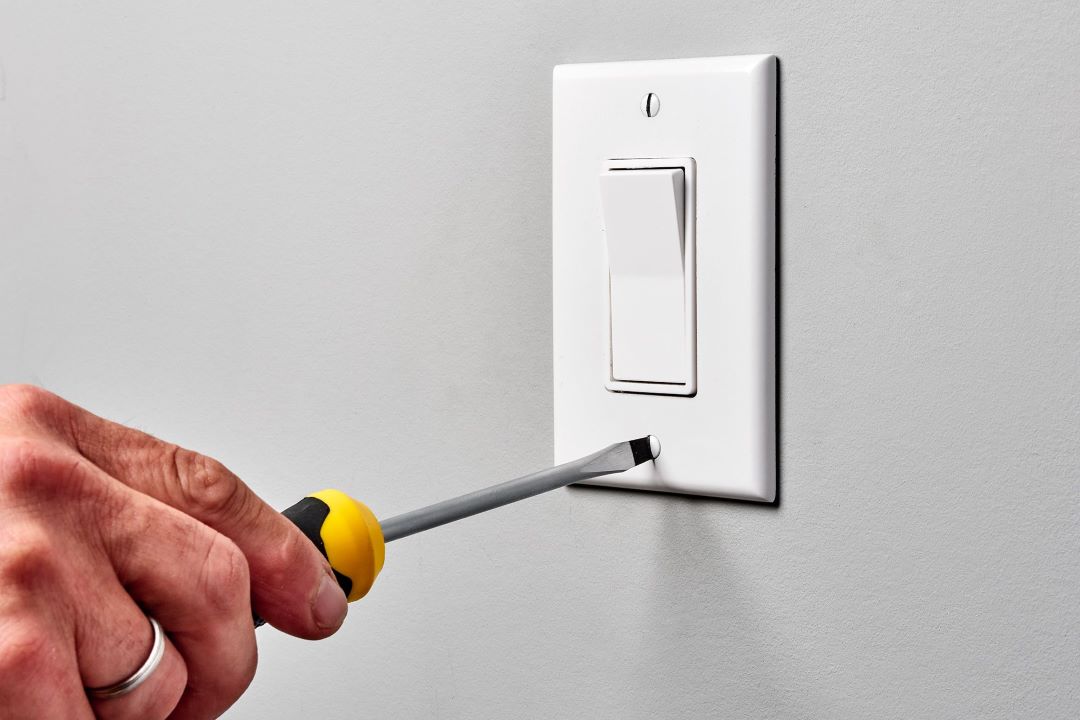
How do you fix a loose light switch button?
You fix a loose light switch button by namely ensuring that the switch is securely wired and all connections are properly made.
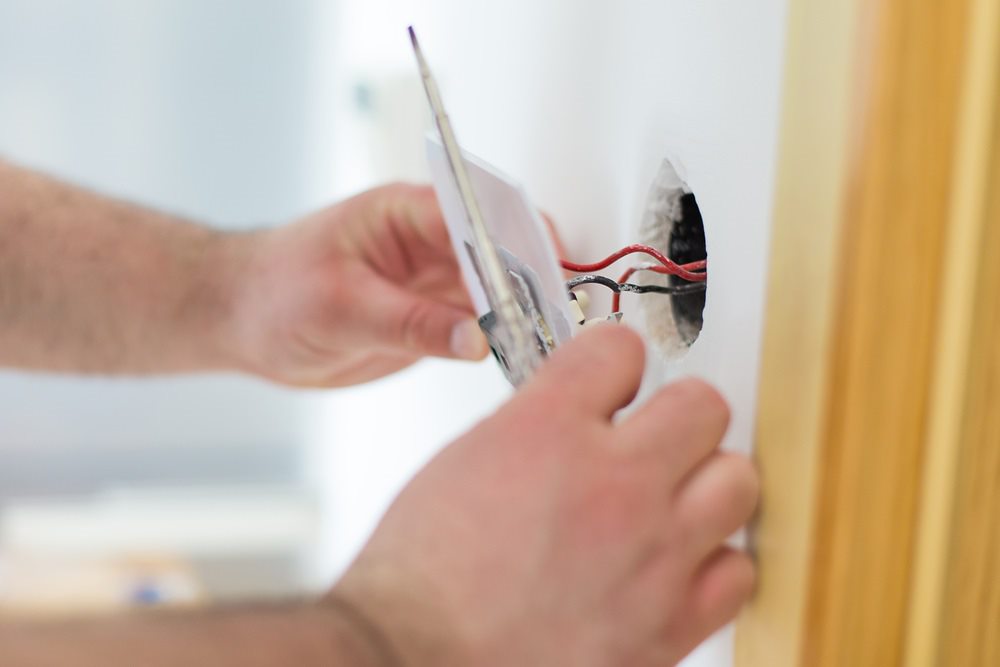
First, turn off the electricity at the main fuse box to ensure safety. Remove the faceplate and then unscrew the switch from the electrical box. Check if the wires connected to the terminals are loose; the hot (often black or red), neutral (usually white), and ground (green or bare) wires should all be securely connected.
If the wires are loose, tighten the screws to secure them. If the switch itself is damaged, it may require replacing. Ensure that the new switch is correctly wired to their terminal, connect the hot wire to the hot terminal, the neutral wire to the neutral terminal, and the ground wire to the ground terminal, before screwing it back into the fixture box and replacing the faceplate. If you are not confident about wire tightening, here is a guide highlighting on the fatal wiring mistakes everyone should avoid.
How do you fix a light switch that won't switch?
You fix a light switch that won't switch by firstly ensuring the light switch is compatible with your home's system.
Begin by carefully removing the problematic light switch from the wall, taking caution to turn off the appropriate circuit breaker to avoid electrical shock. Once safely removed, inspect the switch for any visible damage or wear. If replacing is deemed necessary, obtain a new light switch that matches the specifications of the old one.
Detach the wires from the terminals of the old switch and carefully connect them to the corresponding terminals on the new switch. Ensure the wires are securely connected and the circuit is complete before push mounting the switch back in place and restoring power flow to test its functionality.